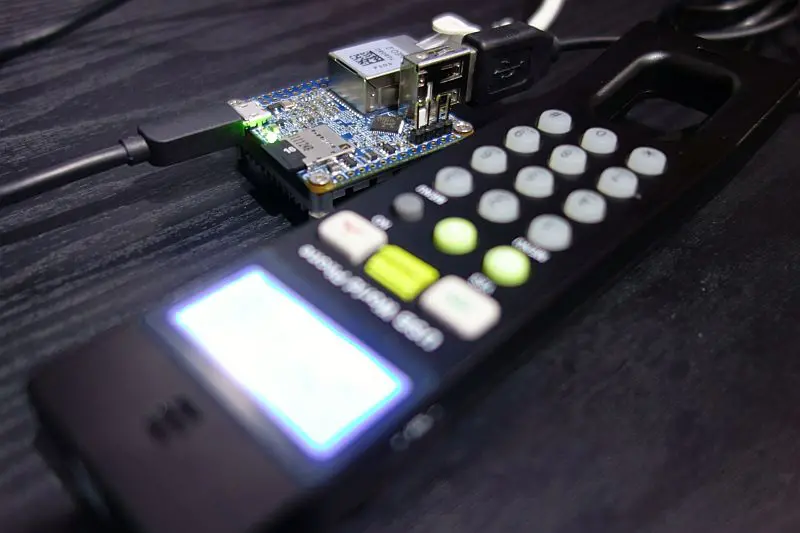
NanoPi NEOはおもちゃ卒業でNTPサーバ専用機になったので新しいおもちゃNanoPi NEO2でSIP電話機を目指す
Linphone起動とヘルプ
前回のPJSIPはちょっと扱いにくい部分があるので今回は比較的容易に使えるLinphoneをインストールした。
# apt install linphone
単にSIP電話機能を使うだけであればこれだけで動いてしまうが、いろいろやりたいなら他にpython-dev, liblinphone-dev くらいはインストールしておいた方が良さそう。
Linphoneを実行する前にNanoPi NEO2にUSBハンドセットを接続する。
$ linphonec
実行は特にオプションなどを付ける必要ないが、linphoneではなく最後にc (CLIのCの意味?)が付く方のlinephonecを実行。
inphonec> help
Commands are:
---------------------------
      help      Print commands help.
      call      Call a SIP uri or number
     calls      Show all the current calls with their id and status.
      chat      Chat with a SIP uri
 terminate      Terminate a call
    answer      Answer a call
     pause      pause a call
    resume      resume a call
  transfer      Transfer a call to a specified destination.
conference      Create and manage an audio conference.
      mute      Mute microphone and suspend voice transmission.
    camera      Send camera output for current call.
    unmute      Unmute microphone and resume voice transmission.
playbackga      Adjust playback gain.
  duration      Print duration in seconds of the last call.
autoanswer      Show/set auto-answer mode
     proxy      Manage proxies
 soundcard      Manage soundcards
    webcam      Manage webcams
      ipv6      Use IPV6
       nat      Set nat address
      stun      Set stun server address
  firewall      Set firewall policy
 call-logs      Calls history
    friend      Manage friends
      play      play a wav file
    record      record to a wav file
      quit      Exit linphonec
---------------------------
Type 'help <command />' for more details or
     'help advanced' to list additional commands.
linphonec> help advanced
Advanced commands are:
---------------------------
     codec      Audio codec configuration
    vcodec      Video codec configuration
        ec      Echo cancellation
        el      Echo limiter
nortp-on-a      Set the rtp_no_xmit_on_audio_mute configuration parameter
   vwindow      Control video display window
   pwindow      Control local camera video display (preview window)
  snapshot      Take a snapshot of currently received video stream
    vfureq      Request the other side to send VFU for the current call
    states      Show internal states of liblinphone, registrations and calls, according to linphonecore.h definitions
  register      Register in one line to a proxy
unregister      Unregister from default proxy
    status      Print various status information
     ports      Network ports configuration
     param      parameter set or read as normally given in .linphonerc
     speak      Speak a sentence using espeak TTS engine
 staticpic      Manage static pictures when nowebcam
  identify      Returns the user-agent string of far end
  ringback      Specifies a ringback tone to be played to remote end during incoming calls
  redirect      Redirect an incoming call
zrtp-set-v      Set ZRTP SAS verified.
zrtp-set-u      Set ZRTP SAS not verified.
---------------------------
Type 'help <command />' for more details.
linphonec>
help [Enter]で主なコマンド一覧、またはhelp advanced [Enter]でその他コマンド一覧が表示される。
また、オプション無しでコマンドを実行するとそのオプションが表示される。
Linphone サウンドデバイス設定
linphonec> soundcard list
0: ALSA: default device
1: ALSA: H3 Audio Codec
2: ALSA: USB Device 0x4b4:0x307
3: PulseAudio: default
linphonec>
接続したハンドセットを受話器(マイク兼スピーカー)にしたい。
soundcard list [Enter]を実行すると認識されているサウンドデバイス一覧が表示される。
上の例ではALSA USB Deviceとして表示されている2番がUSBハンドセットであることがわかる。
linphonec> soundcard use 2
Using sound device ALSA: USB Device 0x4b4:0x307
linphonec>
soundcard use [サウンドデバイス一覧の行頭の番号] [Enter]でそのサウンドデバイスの使用を決定する。
linphonec> soundcard show
Ringer device: ALSA: USB Device 0x4b4:0x307
Playback device: ALSA: USB Device 0x4b4:0x307
Capture device: ALSA: USB Device 0x4b4:0x307
linphonec>
soundcard show [Enter]で使用中(設定された)音声入出力デバイスが表示される。
上の例では呼び出し音を鳴らすデバイス(Ringer)、通話用スピーカー(Playback)、通話用マイク(Capture)のすべてがALSA USBデバイス(つまりUSBハンドセット)に設定されているという意味。USBサウンドデバイスが複数ある場合はその後のデバイスIDも確認。
SIPサーバへの接続
linphonec> register sip:4321@sip.example.com 192.168.0.1 secretpassword
上はSIPアカウントが4321@sip.example.comでSIPサーバが192.168.0.1でパスワードがsecretpasswordの場合。アカウントの前にsip:を付けてやらないとダメなのはPJSIPと同じ。
で、Linphoneでは指定した設定やSipサーバへのレジスト情報は記憶されるので一度レジストされてしまえば次からはLinphoneを起動するだけで自動的にレジストされた状態・各種設定が反映された状態となる。これが便利。
発信
linphonec> call 5000
内線番号5000に発信するならこんな感じ。
着信
linphonec> answer
コマンド操作では普通にanser [Enter]と入力するだけ。
通話切断
linphonec> terminate
通話相手側から切断した場合は切断を認識するのでterminteを実行する必要はない。
一時保留
linphonec> pause
一時保留から通話に戻す
linphonec> resume
Linphone自体の終了
linphonec> quit
基本的なオペレーションはこんなところ。
Linphoneの設定ファイル
ユーザーのホームディレクトリ直下の .linphonerc がそれ。
1 2 3 4 5 6 7 8 9 10 11 | #前省略
[rtp]
download_ptime=0
audio_rtp_port=20000
video_rtp_port=9078
audio_jitt_comp=60
video_jitt_comp=60
nortp_timeout=30
audio_adaptive_jitt_comp_enabled=1
video_adaptive_jitt_comp_enabled=1
#後省略
|
たとえば何か理由があって音声通話用のRTPポートをLinphone標準の7078から20000に変更する必要があるとする。
~/.linphonercをテキストエディタ開くとrtpセクションに audio_rtp_port という項目があるので値を20000に変更して保存する。
linphonec> ports
sip port = 5060
audio rtp port = 20000
video rtp port = 9078
linphonec>
Linphoneを起動してports [enter]を実行する。audio rtp portの欄が指定した値になっていれば設定できている。
何も難しいところやトラブりやすいところとか無くサクッと使えたのでこの記事はLinphone(c)の使い方だけになっちゃった。
今回もハンドセットを使っての通話は出来てもハンドセットで操作したりハンドセットの液晶に何かを表示するところには触れてないなぁ。一番上の写真でハンドセットの液晶パネルを光らせちゃってるので期待しちゃってたらゴメンなさい。次でその辺りができたらいいんだけど。ハンドセットの表示とボタン操作で電話ハンドセットにするのは後編の2(次の次に書きました)
- NanoPi NEO3にGPSモジュールを接続してNTPサーバとして使用する
- アッチッチなNanoPi NEO3を冷やしたい パッド交換
- NanoPi NEO3冷却力強化後のUnixBench
- アッチッチなNanoPi NEO3を冷やしたい
- NTPサーバの時刻ソースに対するズレの調整
- NanoPi NEO3をv6プラスのルーターにする systemd-networkd + nftables
- NanoPi NEO3のUSB3.0ポートのネットワーク速度
- NanoPi NEO3でArmbian よきところでUnixBench
- NanoPi NEO3が届いた
- NanoPi NEOにRTCモジュールを付ける
- 新しい中華GPSモジュールとChronyで作るNTPサーバ (中編)
- 新しい中華GPSモジュールとChronyで作るNTPサーバ (前編)
- Prometheus2とGrafana6によるシステム監視 シングルボードコンピュータの温度表示
- NanoPi NEOでNTPサーバ再構築 (全まとめ)
- 新しいIP電話機を安く買いたい Grandstream
- 新しいIP電話機を安く買いたい Fanvilの残り
- 新しいIP電話機を安く買いたい
- NanoPi NEO2をv6プラスのルーターにする 後編
- NanoPi NEO2をv6プラスのルーターにする 前編
- ELK Stackでシステム監視 FilebeatでNTP統計ログ取得 Logstashで加工
- NanoPi NEO2(arm64)用にFilebeatをビルド
- NanoPi NEO2を超コンパクトなアルミケースに入れる
- NanoPi NEO2用armbian 5.41 Debian 9 Stretch next 4.14.18
- NanoPi NEO2を100均の灰皿に入れてみた
- NanoPi NEO2のシステム監視 RPi-Monitorとnetdata
- Cisco 7961G電話機でCardDAVの連絡帳を利用する
- Cisco 7961G電話機にSSHでログインする
- Cisco 7961G電話機にツイッターを表示する
- Cisco 7961G電話機のサービスメニュー設定
- Cisco 7961G電話機の日本語化と背景画像