今回は滋賀県は琵琶湖の東側「湖東三山まん中のお寺」として知られる金剛輪寺(こんごうりんじ)に行って来た。湖東三山の他の二山は北側の西明寺と南側の百済寺。
金剛輪寺は天台宗のお寺で聖武天皇の勅願寺として741年に開山した。聖武天皇は奈良時代第45代の天皇で東大寺の大仏建立の詔を出した人。大仏の開眼供養に参加したのは譲位後。金剛輪寺を開山したのは行基で東大寺の大仏建立も行基。あっちもこっちも忙しい人ねぇ。
アクセスは名神高速道路の湖東三山スマートインター出口から距離で400m, 道のりで1km程度。SICなのでETC搭載車専用みたい。
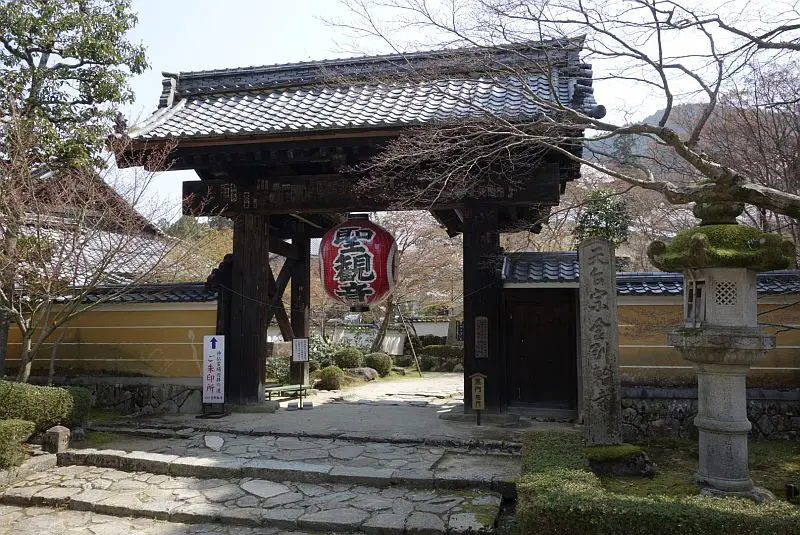
入り口の「黒門」。50mほど入ったところに受付があって入場料を取られる。お寺の入場料としては1人600円は少々お高め。
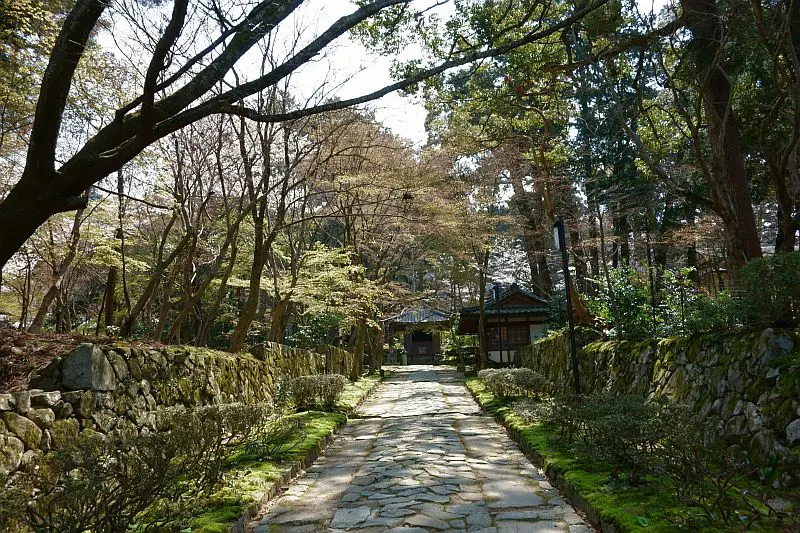
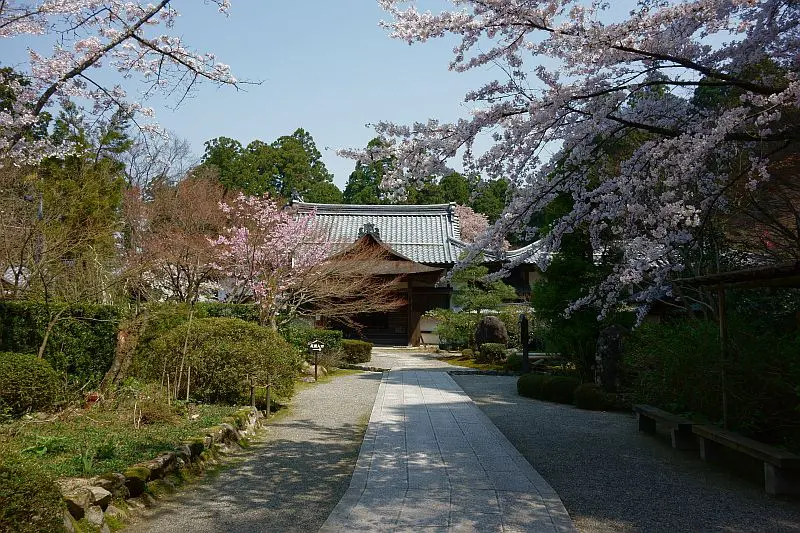
奥へ入っていく。石畳と石垣が良い雰囲気。
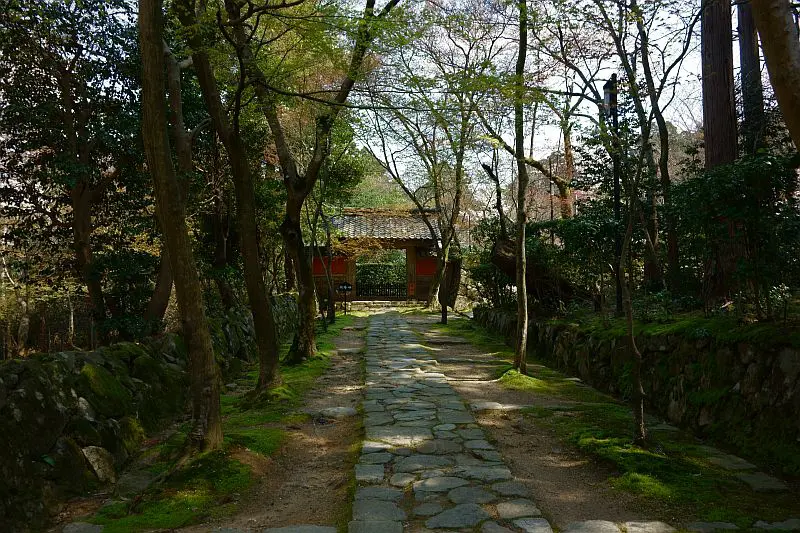
左に曲がると「赤門」。
赤門の手前を右折して奥へ進む。
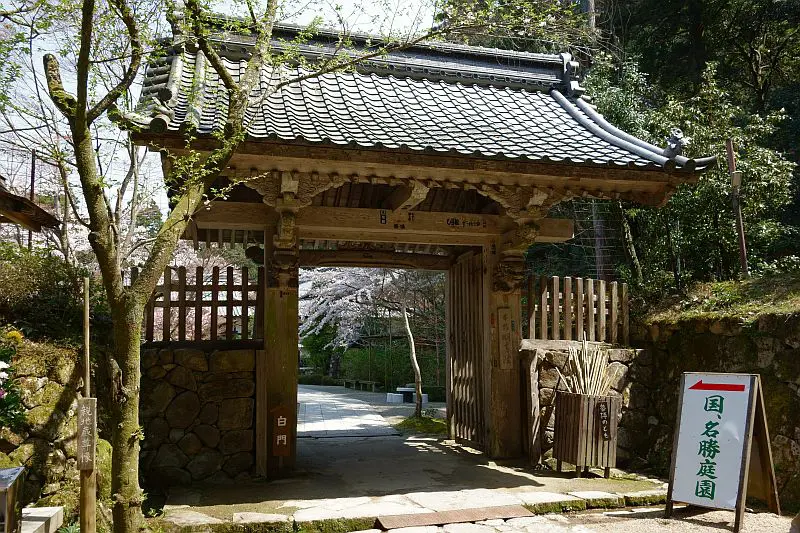
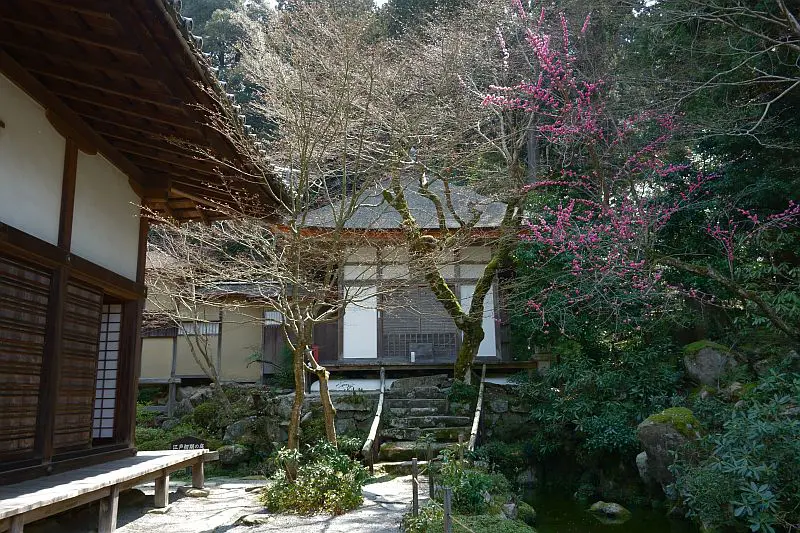
「白門」この門を入ると明寿院と名勝庭園がある。
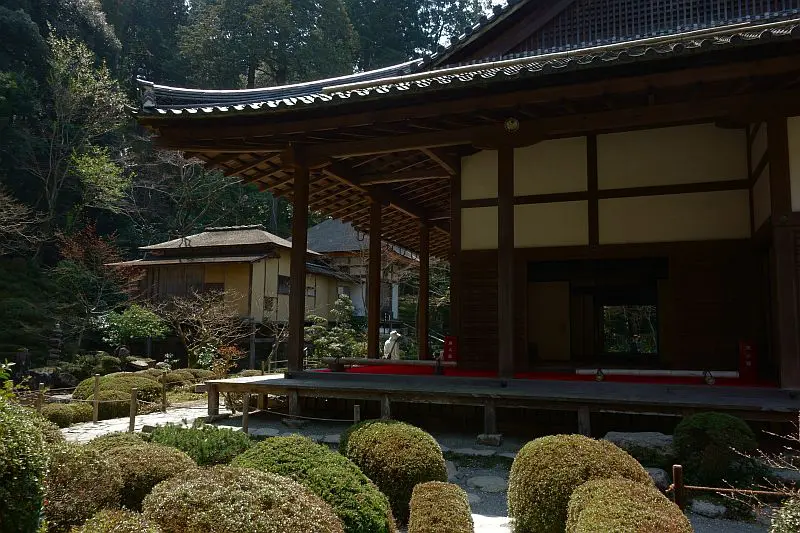
「明寿院」
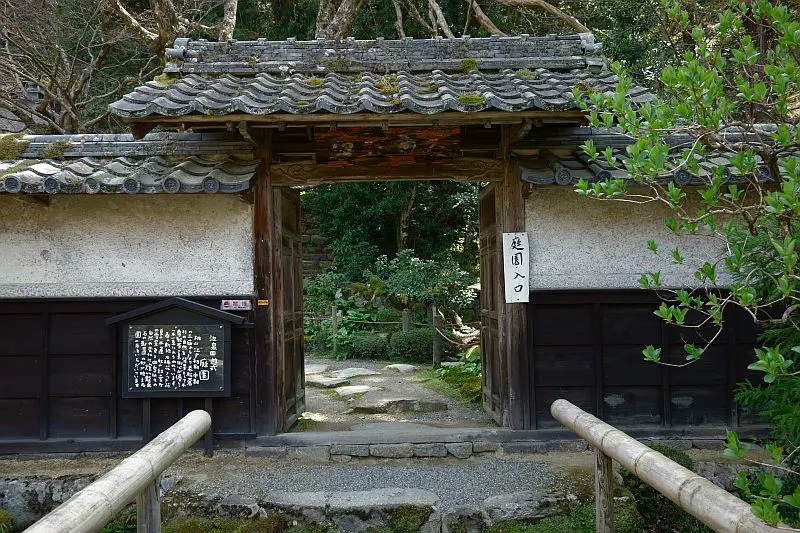
「名勝庭園」入り口
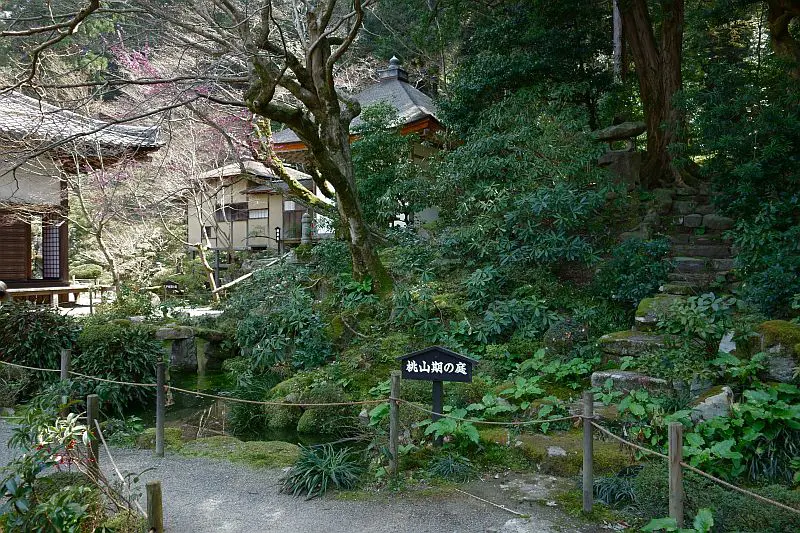
桃山期の庭
「明寿院」と「水雲閣」の間を左折する。
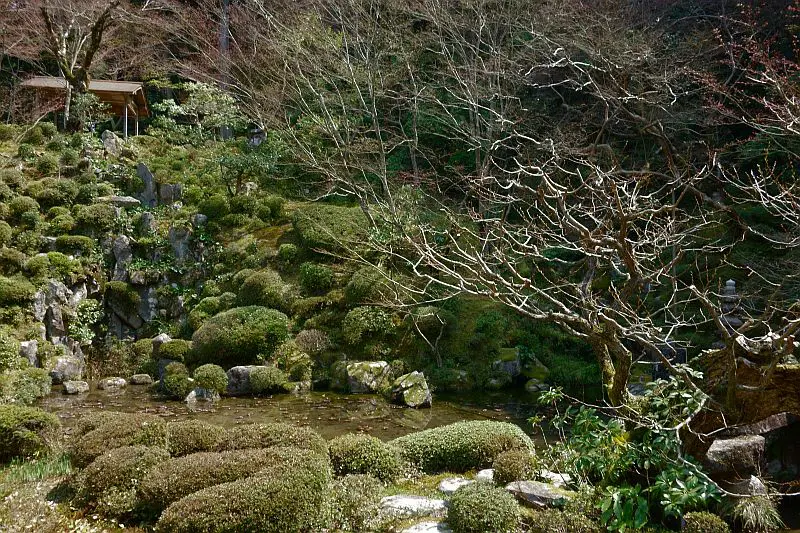
でっかい日本庭園。
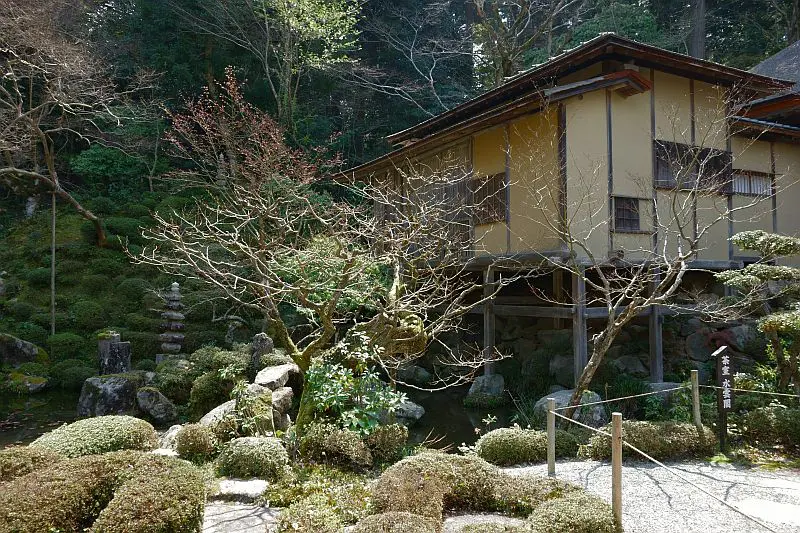
見えてる建物が「水雲閣」(茶室)。江戸時代の建物らしい。
庭の奥側
振り返って「明寿院」側
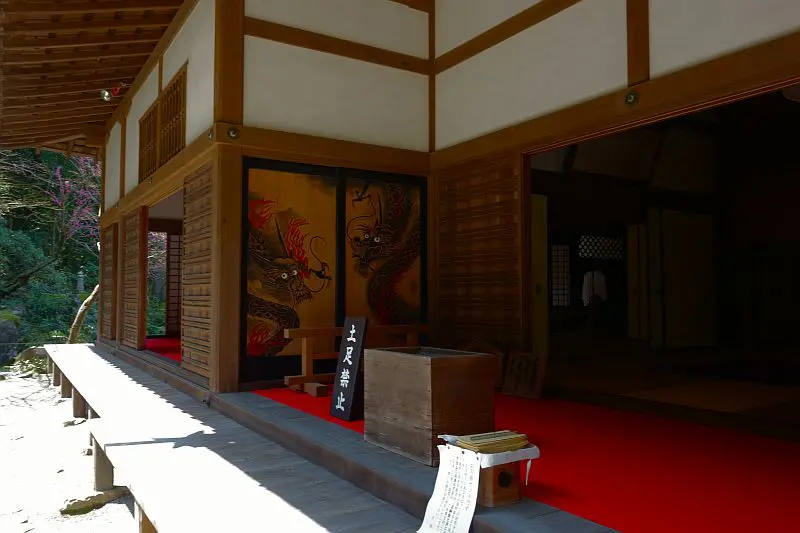
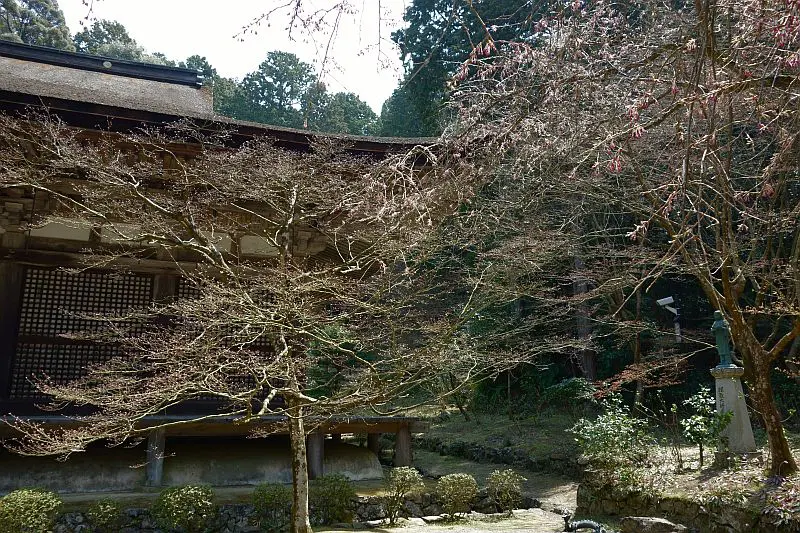
「明寿院」。「土足禁止」ではあるけど、靴を脱げば上がって庭を眺めてもいいっぽい。なんか音声で説明してくれる機械が置いてあってボタン1つで再生するようになってるんだけどヴダウダ長くてとても全部聞く気にならなかった。
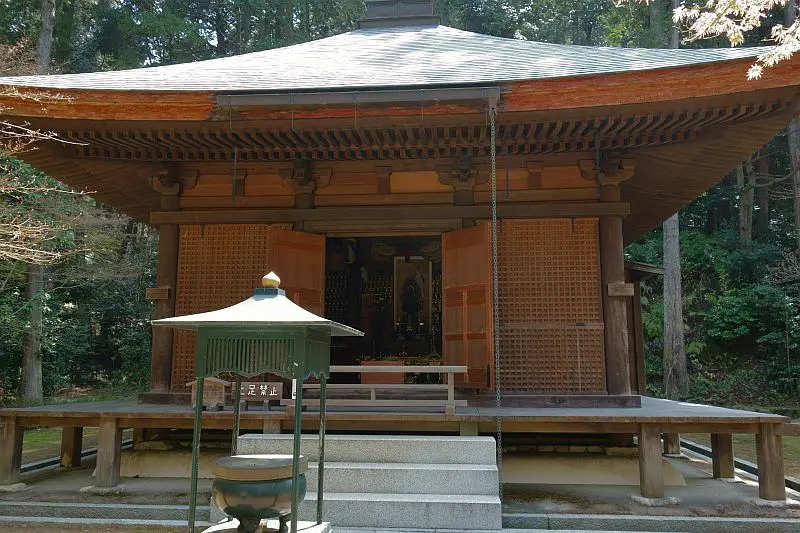
地蔵堂。扉が開いてて中が見える。
不動堂。こちらは開いてなかった。
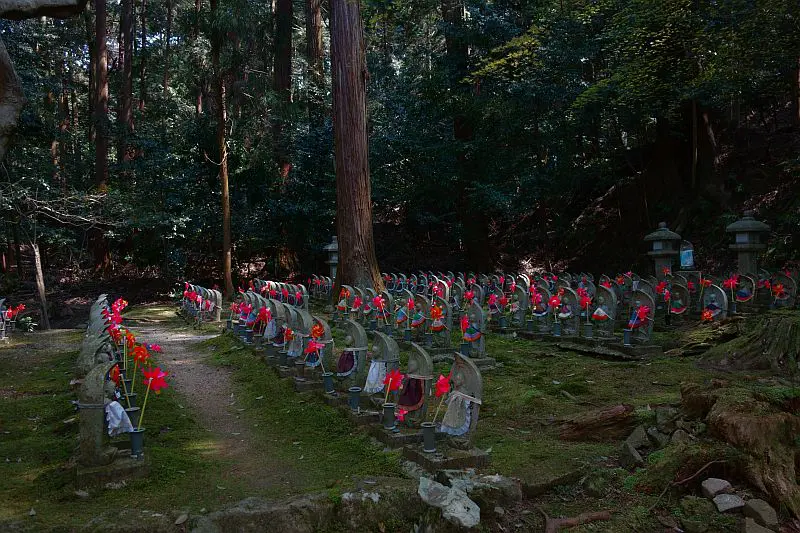
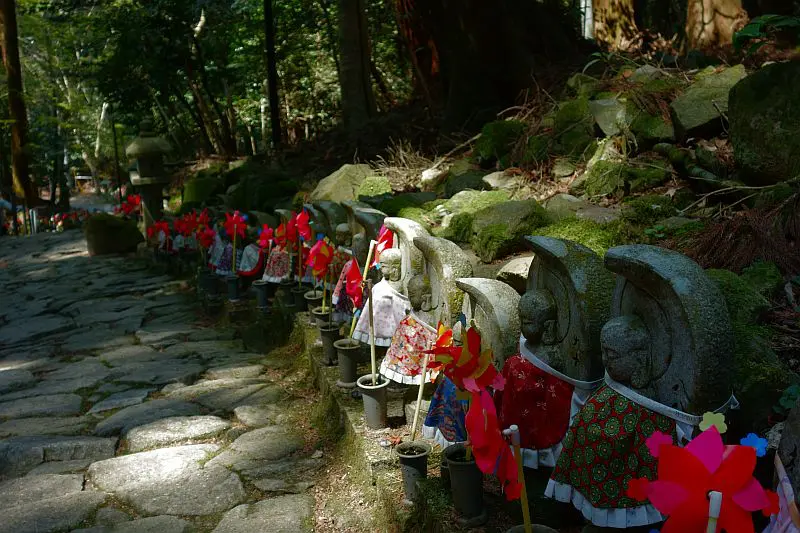
広いところに地蔵がズラり。
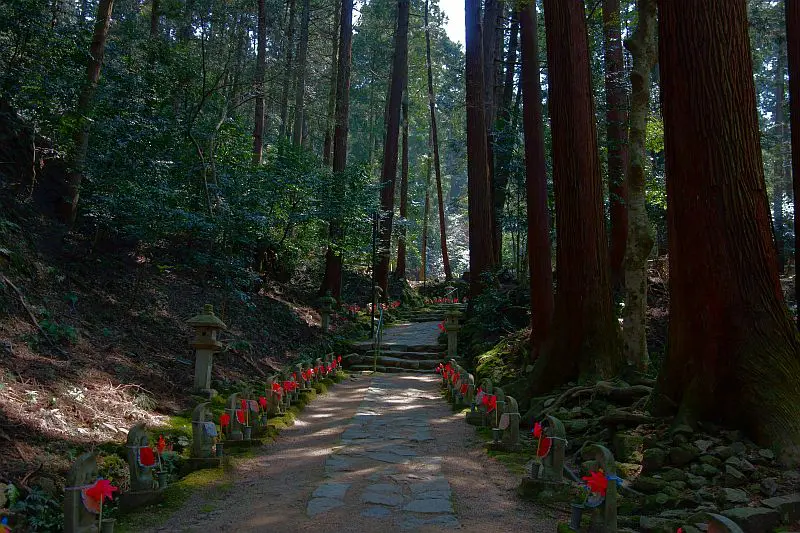
薄暗いところに両側に地蔵が並ぶのはちょっと気味悪い。
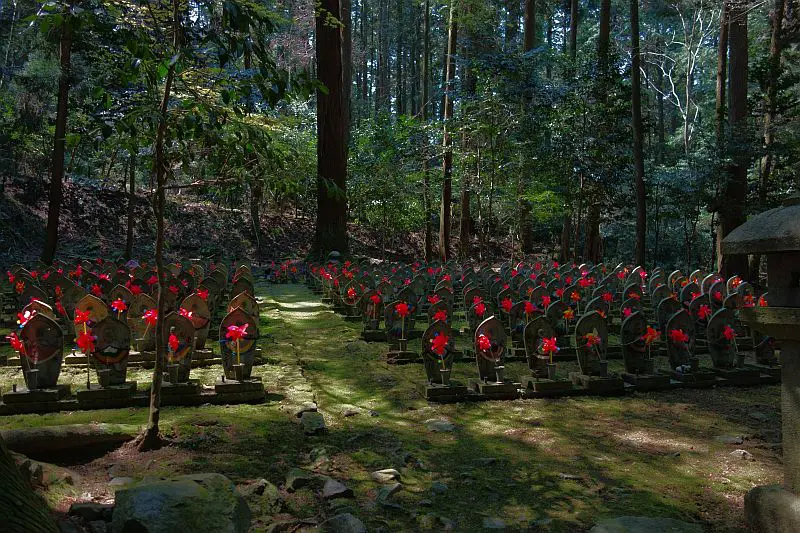
また広いところにズラリ。「千躰地蔵」というらしい。このお寺の地蔵はみな赤い風車を持ってる。
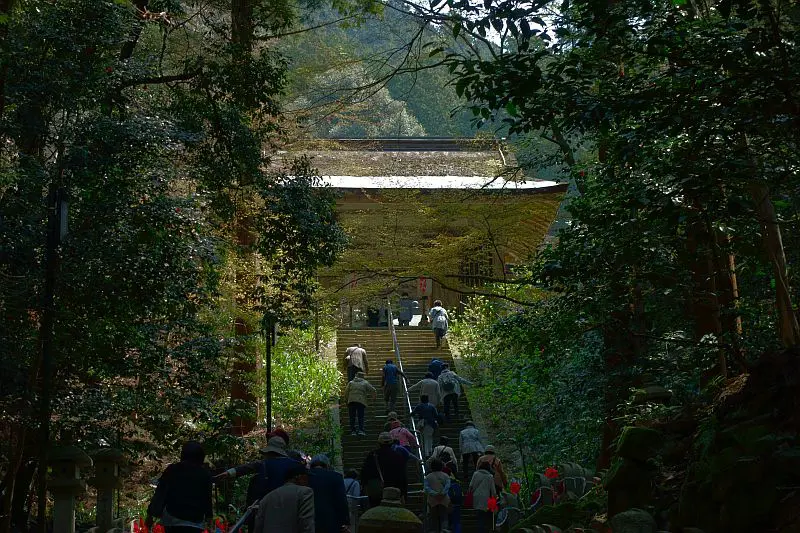
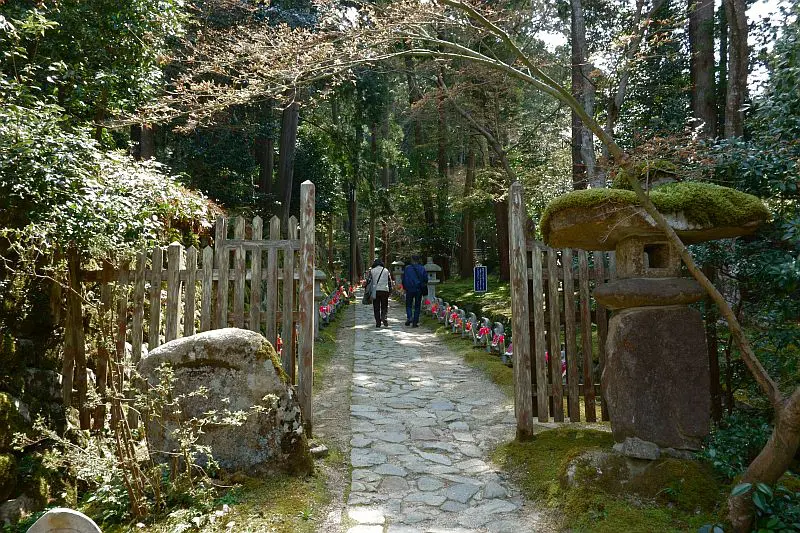
山道の途中で観光バスから降りてきた人たちと合流。(車道があってバスは山道の途中まで、普通車は本堂横まで登れるようになっている)
奥に見えるのが「二天門」室町時代の建物で国の重要文化財。
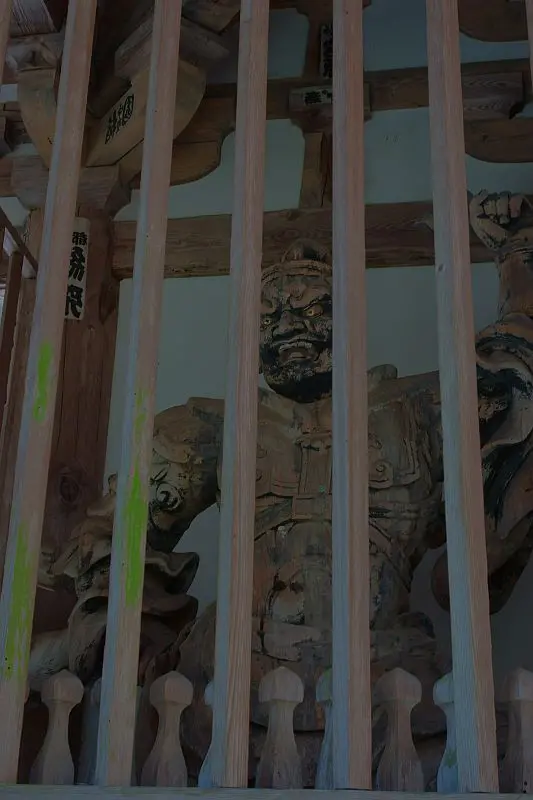
「二天門」の中の木像。説明が無かったので詳細不明。
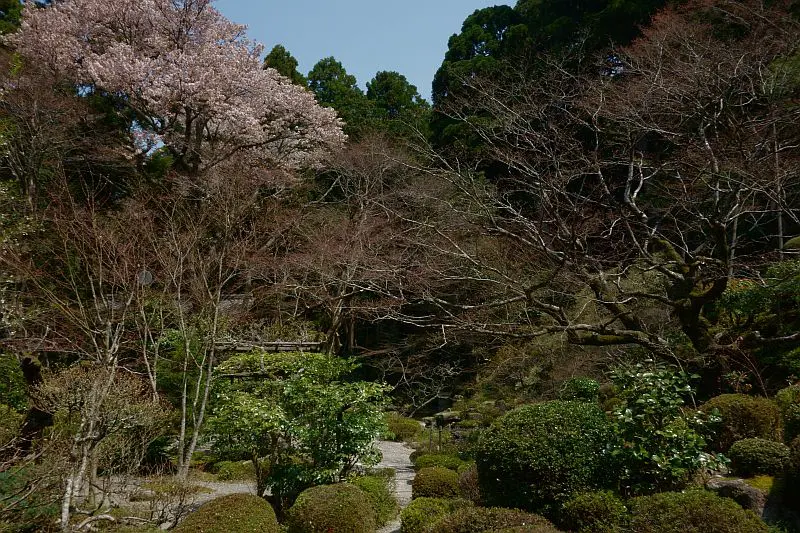
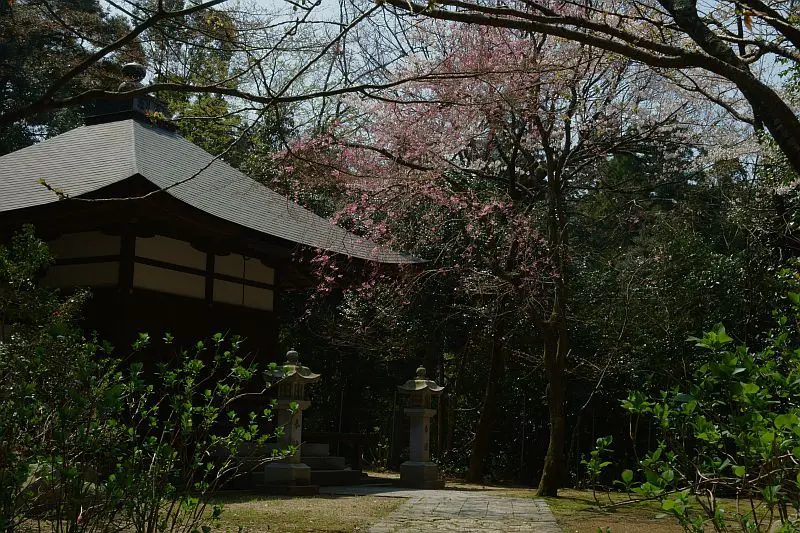
本堂前の桜。あれ?まだ全部つぼみじゃんよ。ウォーカープラスでは「見頃」になってたのに騙された。
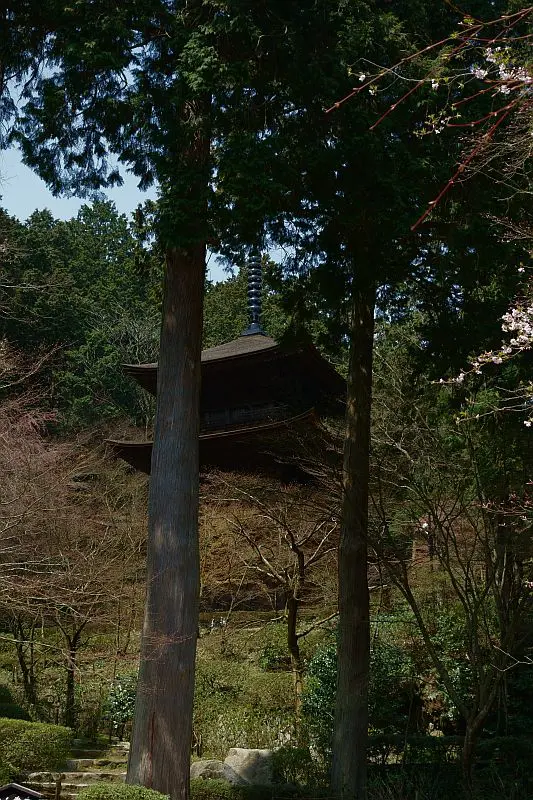
本堂の横を上がったところに三重塔。
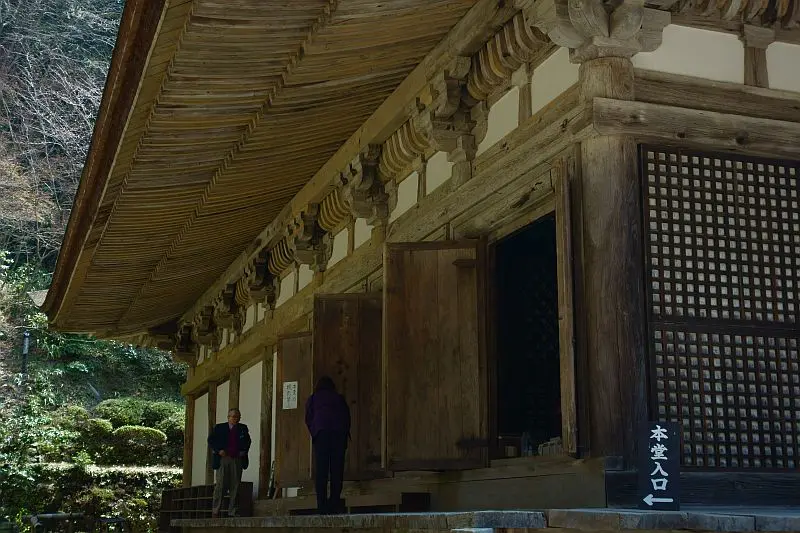
巨大な本堂(の横側)。この本堂は鎌倉時代の建物。元寇の後に元軍を撃退できたことを感謝して近江守護の佐々木頼綱(六角頼綱)が建てたもの。1288年の建物ということは729年前のものということで当然だけど国宝だそうな。
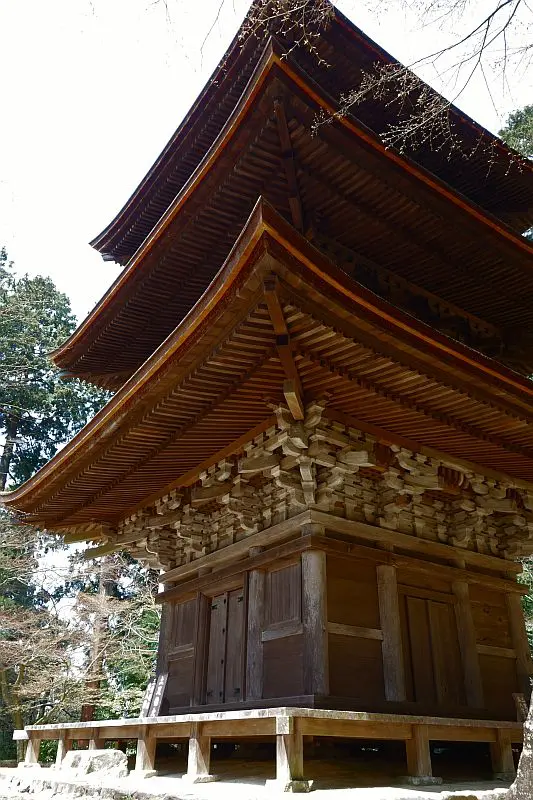
三重塔。南北朝時代に建てられたのが朽ちるにまかせて昭和前半には最上層が無くなった状態になったとのことで、逆にそれを見たかったかも。昭和53年に解体修理完了、すでに結構良い色になってる。
おまけ。
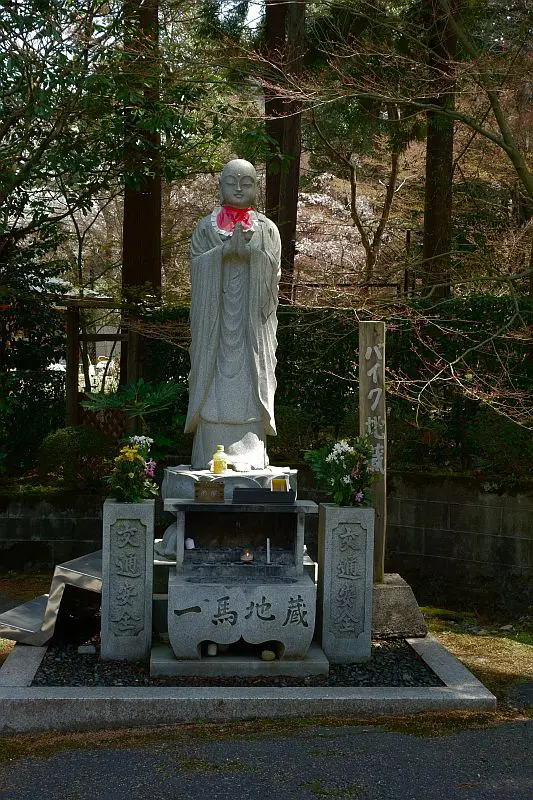
入り口出て駐車場に向かう途中。「交通安全」とか「バイク地蔵」って書かれているけど「一馬地蔵」って何?
この寺は桜は駐車場の奥側と博物館の横以外はほとんど無い感じ。「さつき」「紫陽花」「紅葉」の時期が綺麗かも。特に「紅葉」の時期は間違い無しかと。
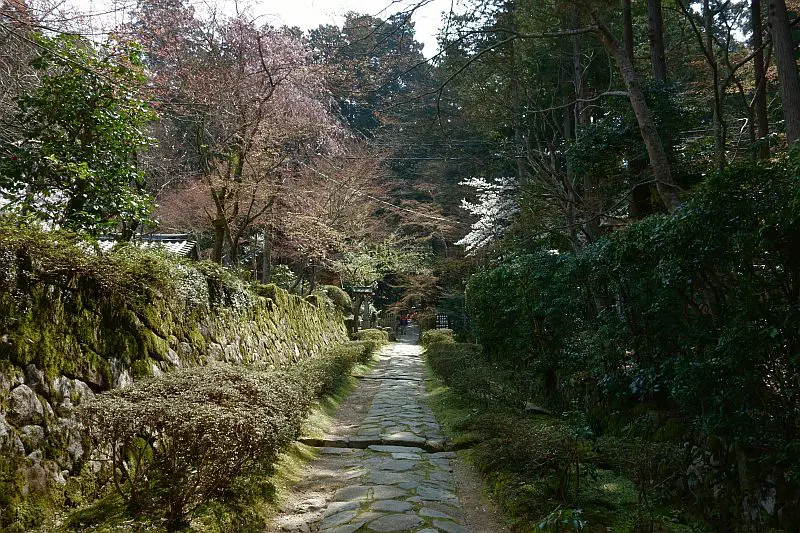
入り口から本堂まで500mという説明だったが、山を登って行くことになるのでけっこうキツい。下がずっと石畳と石段でデコボコしてるので歩きやすい靴必須。城と違って石段の一段一段は高くないので膝が弱ってても体力さえあれば登れなくはない。