以前のGPSレシーバーでStratum 1なNTPサーバで買ったGPSはPPS無しで時刻精度が低かったのでPPS付きのGPSモジュールを買ってみた。
こちらはGPSチップの載ったモジュール。お値段は注文時でUS$8.00。送料無料は良かったが、輸送記録を見ると深圳で行ったり来たり彷徨ったようで到着まで40日近くもかかった。出荷から深圳までが2日、深圳を出てから日本で発達されるまでは3日だったので順調なら注文から配達まで1週間かからなかった筈。
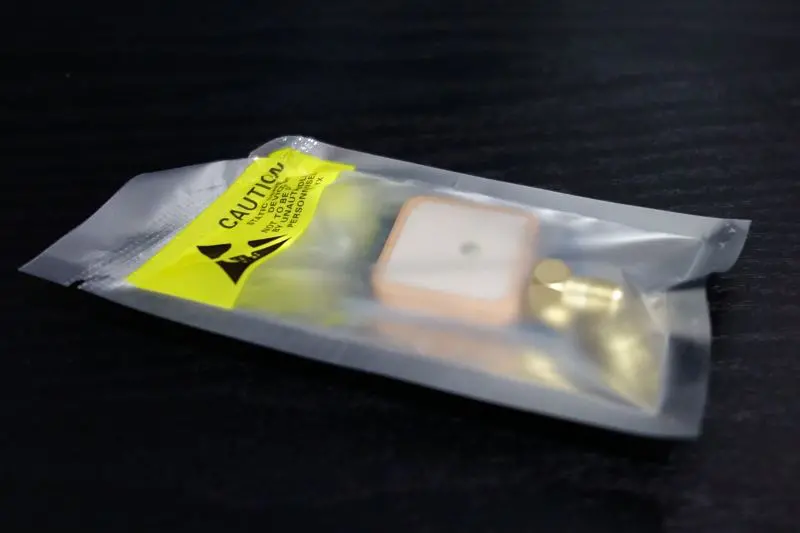
この写真の物がプチプチ緩衝材付きの封筒に直に入ってた。かなり乱暴っちゃ乱暴。
商品説明ページに何の説明も無かったけど封筒にも紙ペラ1枚入ってない。メーカーも商品名も不明なので仕様がわからない。まぁ、GPSチップが判っているので大丈夫だけど。
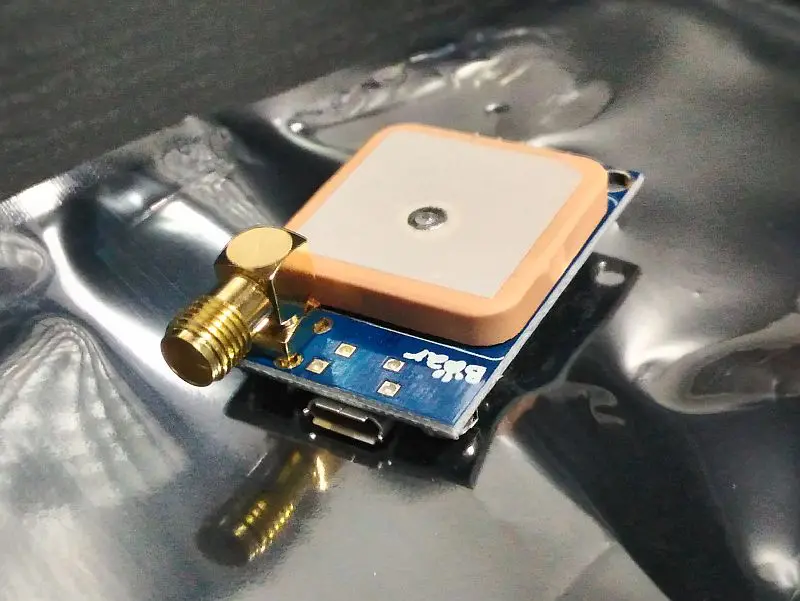
中身。金色の大きな端子は外部GPSアンテナを繋ぐ為のSMA端子。外部アンテナを繋ぐなら、室外まで伸ばすなど長いケーブルを予定してということであればSMA端子付き、組み込み機器用など数センチ程度の短いケーブルということであればIPX端子付きを選ぶと良いと思われる。今回は室外までアンテナを伸ばすのでSMA。
小型GPSモジュールでSMA端子付きは少ないので、どうしても欲しいボードの外部アンテナ端子がIPXならIPX-SMA変換ケーブルも合わせて購入することになるが意外と高い。
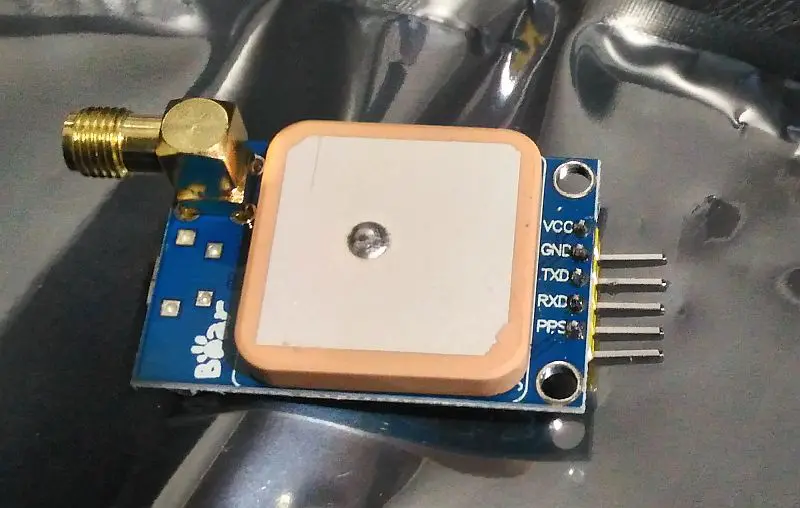
中央の白いのはオンボードのアンテナ。一応外部アンテナ無しでも使えるがGPSモジュールが空を見渡せるよう設置するというのはロボット用でも基板剥き出しみたいな見た目が残念なものになるかな。写真のGPSモジュールは右側の出力用のピンヘッダにPPS(一番下)と書いてあるので特に工作しなくてもPPS信号を取ることができる。
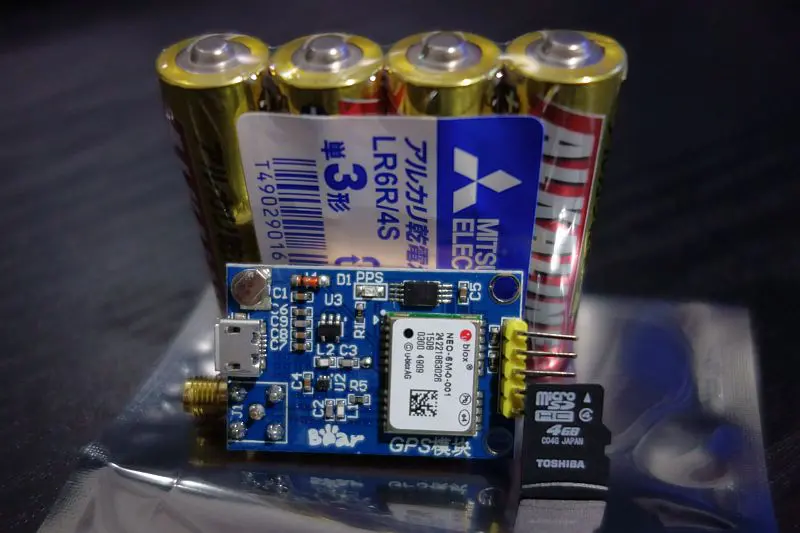
後ろにあるのは大きさ比較用の単3電池。右側には同じくMicroSDカード。このMicroSDカードとGPSチップ(白いの)がほぼ同じくらいの大きさ。GPSチップはu-bloxのNEO-6Mで、NEO-6シリーズでは最廉価、最近の安いGPSモジュールでの採用が多いもの。NEO-6シリーズでは6Mだけが温度保証水晶発振器(TCXO)ではなくただの水晶発振器(SPXO)なので「がとらぼ」の中の人のようにNTPサーバの時刻ソースにしようとか時間の正確性を求めたいというなら本当は選ぶべきじゃない。(でも安い)
NEO-6,NEO-7,NEO-7P,NEO-8Mはチップから直でPPS(Time Pulse)信号を取れるのでモジュールにPPS用のピンヘッダが無くてもチップの3番の足から(若しくは3番からLEDに繋がってることが多いのでその辺りから)信号を取れば良い。ちなみに3番は上の写真だとチップの左上側の©ubloxAGと書いてある©の左辺り。(足が7本生えている側を下にして右下から3番目 = 写真とは上下逆)
基板の左上隅の丸いのはバックアップ用のボタン電池。
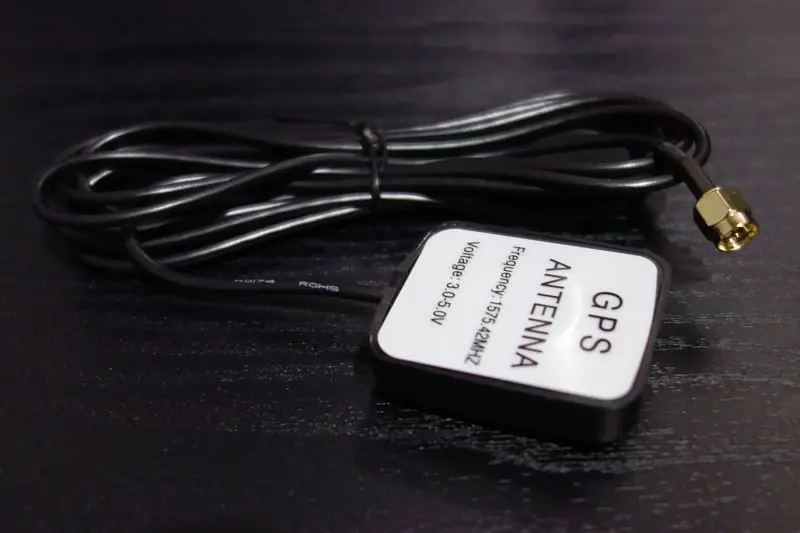
US$2.6(送料無料)で購入した廉価版GPS外部アンテナのSMA端子用。ケーブルは3m。一応防水ということになってはいるがかなり怪しげなので屋外に出すなら自分でしっかり防水処理を施すほうが良さげ。前回買ったのとGPSアンテナ本体のケース部分は全く同じ樹脂物の様だが両面テープは付いてないので別途用意が必要。一応写真に写ってる銀(白)色に字が書いてある側は磁石になっているので金属面にひっつけることは可能。ただし、磁力は大して強くないので屋外設置で磁石使用は良くなさそう。
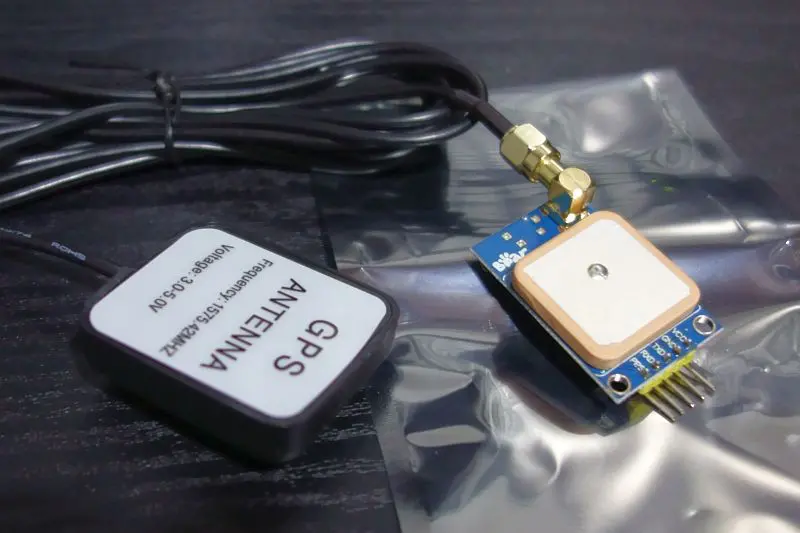
アンテナをGPSモジュールに繋いだところ。テレビの同軸アンテナ繋ぐのと同じく捻るだけなので簡単。で、ネジ留めなのでIPX端子のようにすぐに取れそうで怖いというのはない。逆にしっかり繋がりすぎなので強く引っ張ったら基板を破壊してSMA端子ごと取れそう。
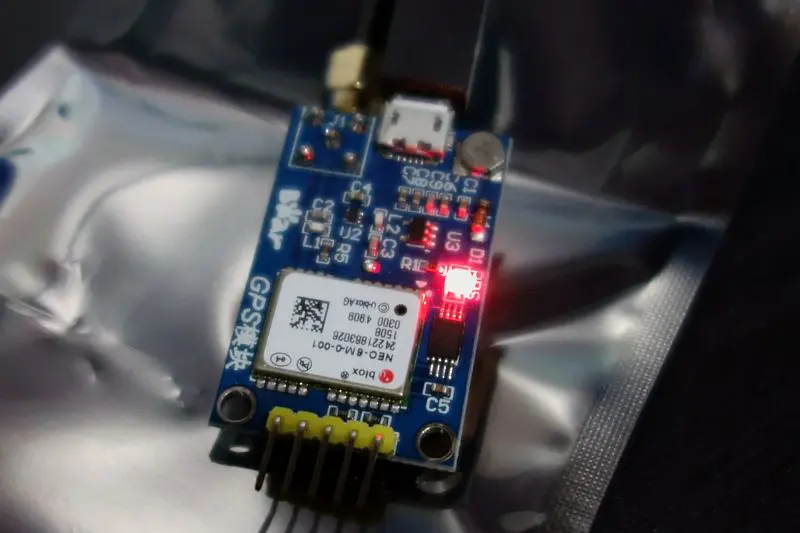
信号線は繋いでいないが、MicroUSBで給電してみた。
給電開始後暫くは赤LEDが点灯。少ししてGPS衛星を掴むと1秒に1回一瞬LEDが消える。
問題はLEDが眩しすぎること。写真では伝わらないだろうけど光が強すぎて直視できない。
初回のGPS捕捉はコールドスタートになるので30秒~2分ほどかかるかもしれないが、バックアップ電池を搭載しているので次からは電源投入後数秒でGPSを捕捉できる。
取り敢えず押し入れからジャンパワイヤ探さなきゃ。
あと、このGPSモジュールのMicroUSBは給電専用なのかしら?(← 3月8日追記: 給電専用でした)
- NanoPi NEO3にGPSモジュールを接続してNTPサーバとして使用する
- NanoPi NEOでNTPサーバ再構築 (全まとめ)
- NanoPi NEOとGPSモジュールでNTPサーバ PPS検証編
- NanoPi NEOとGPSモジュールでNTPサーバ PPS解決編
- NanoPi NEOの時刻のズレを直したい
- NanoPi NEOとGPSモジュールでNTPサーバ 高精度PPS編
- NanoPi NEOとGPSモジュールでNTPサーバ 簡易PPS編
- NanoPi NEOにGPSモジュールを繋いでNTPサーバ
- GPSモジュール ←いまここ